How to configure a Linux firewallKey Points
ufw allow ssh)firewall-cmd –add-service=http –permanent)
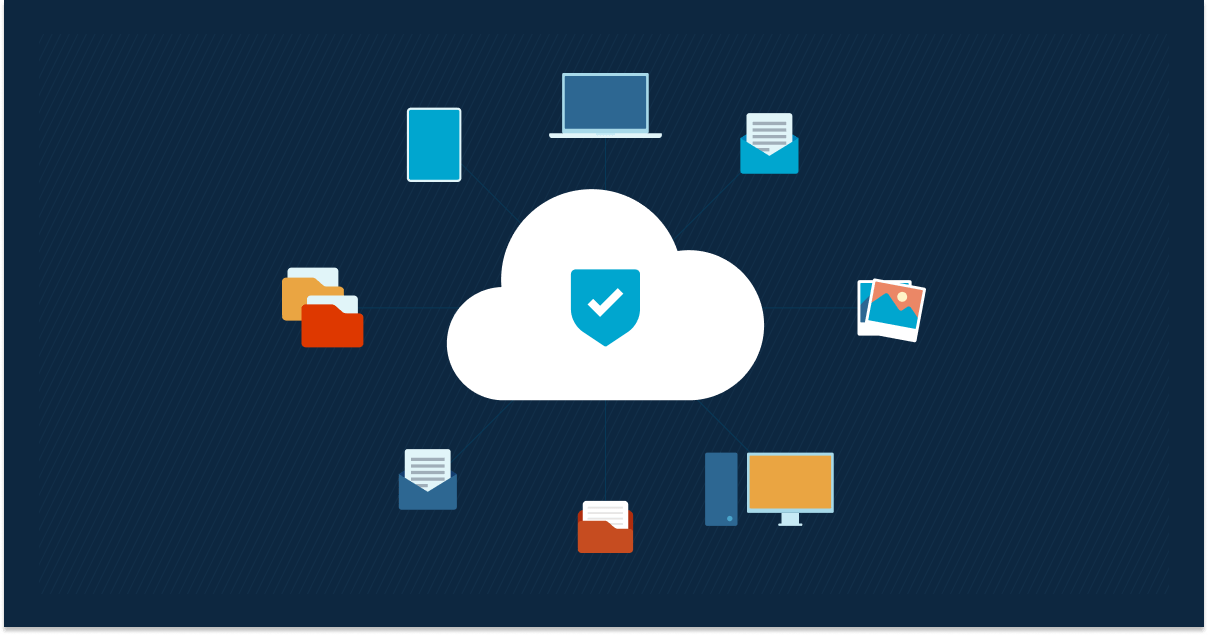
A firewall stands as a digital gatekeeper, meticulously sifting through network traffic and deciding what may pass. This protective shield, fundamental to cybersecurity, is integral in the Linux world. The Linux kernel itself is effectively a de facto packet switching firewall, crafted as it is around the principles of packet filtering at the most fundamental operating system level, thus exemplifying the pivotal role of firewalls in system security. For those vested in IT and Linux security, this combination plays an essential role in mastering digital defense.
Proper firewall configurations ensure that only legitimate traffic gets processed, reducing the system’s exposure to potential threats. By defining specific rules, firewalls can effectively shield critical services and data. A firewall that is set up improperly can inadvertently leave ports open, expose sensitive services, or even block legitimate operations. Such misconfigurations can be an open invitation to attackers, leading to data breaches or Denial-of-Service (DoS) attacks.
After you configure a Linux firewall, it will operate by assessing the data packets sent to and from the system. By checking attributes like destination port, source IP, and protocol, it decides to allow or deny traffic based on predefined rules.
Bolster your Linux device security with NinjaOne.
Download our IT security guide for more tips.
Linux firewall configuration best practices
At the intersection of Linux system administration and cybersecurity, firewall configurations emerge as a keystone in the defense architecture. Navigating this maze requires more than just technical know-how – it demands a strategic approach that aligns with the broader security objectives. Here are the pivotal practices to adopt:
Understanding the security policy
Before delving into configurations, start out with a well-articulated security policy. Define what data and services require protection, and from what threats, to ensure that your firewall serves as an effective first line of defense. This does not only include what to block and from whom; information security considerations such as the blocking methods come into play here too.
Setting default policies
For optimal Linux security, adopt a stance of minimal exposure. A best practice is to deny all by default and open avenues of access only when necessary, which is essentially a zero-trust architecture. This minimizes potential attack surfaces and reduces inadvertent exposure. One common use case is the distinction between “deny” and “drop” rules in the firewall – the former actively sends a REQUEST DENIED response to the sender of the packets, and the latter silently drops the request packets without a response. Anyone who’s ever operated a production server on the open internet can tell you about the wisdom of not advertising your IP address to random port scans, for instance.
Managing incoming and outgoing traffic
While much emphasis is placed on thwarting unsolicited incoming traffic, monitoring and controlling outgoing traffic is equally paramount. It ensures that potentially compromised systems within the network don’t become conduits for data exfiltration or other malicious activities. Endpoint infections on your users’ laptops can more easily infect other computers inside your network – such as network storage or company servers – than hostile actors can, partly because of the existing level of trust. That is why managing your company’s mobile computing fleet with products such as NinjaOne’s endpoint management software can help to safeguard your core network by protecting devices from viruses, spyware, and cyberattacks such as the increasingly common ransomware attacks.
Configuring service-specific rules
Different services present varied vulnerabilities. Tailor your firewall rules to cater to these nuances, ensuring each service – be it SSH, HTTP, or FTP – has its tailored protective shield. Watchdog services like fail2ban can also watch services’ logs for signs of security attacks, generally taking appropriate action by adjusting firewall rules and blacklists.
Regular firewall review and updates
The threat landscape is ever-evolving, and so too should your defenses. Regularly scrutinizing and updating your firewall configurations ensures they remain robust, relevant, and responsive to the current threat environment. In essence, configuring a Linux firewall isn’t just about setting rules – it’s about weaving a comprehensive protective tapestry that aligns with the organization’s security standard.
How to configure your Linux firewall
Introduction to iptables and iptables configuration
iptables is a powerful user-space utility used for configuring IPv4 packet filtering rules in the Linux kernel. It’s part of the netfilter project and stands as the de facto tool for direct interaction with the kernel’s packet filtering framework. Through iptables, system administrators can define rulesets for handling incoming and outgoing traffic, ensuring that the system is shielded from potentially malicious network communications.
The mechanics of iptables revolve around three primary components
- Tables: Each table defines a set of chains and is associated with a specific kind of packet handling.
- Chains: These are sets of rules that dictate how packets should be processed. The three default chains are INPUT (for incoming packets), OUTPUT (for outgoing packets), and FORWARD (for routed packets).
Rules: Rules within a chain dictate the fate of a packet, whether it’s to accept, drop, deny, or take some other action.
Some fundamental iptables commands and their configurations
-
Listing current rules
sudo iptables -L -v -n
This command displays all the current rules in the `iptables` firewall.
-
Setting default policies
– To drop all incoming traffic by default:
sudo iptables -P INPUT DROP
– To allow all outgoing traffic by default:
sudo iptables -P OUTPUT ACCEPT
-
Allowing specific traffic
– To allow incoming SSH traffic on port 22:
sudo iptables -A INPUT -p tcp –dport 22 -j ACCEPT
-
Blocking specific traffic
– To block incoming traffic from a specific IP address (e.g., `192.168.1.10`):
sudo iptables -A INPUT -s 192.168.1.10 -j DROP
-
NAT configuration (port forwarding)
– To forward incoming traffic on port 8080 to an internal machine 192.168.1.10 on port 80:
sudo iptables -t nat -A PREROUTING -i eth0 -p tcp –dport 8080 -j DNAT –to-destination 192.168.1.10:80
-
Saving rules
Rules in `iptables` are volatile, meaning they’ll disappear upon reboot unless saved. The move towards systemd and firewalld on many distributions has introduced a new paradigm for saving and managing iptables rules. Here’s how you can save your iptables rules using the systemd method, followed by another commonly used method:
Using the systemd method
Many modern Linux distributions use systemd for system and service management. If you’re using iptables with systemd, you can employ the following method:
First, ensure that the iptables service is enabled to start on boot:
sudo systemctl enable iptables
After configuring your iptables rules, save them:
sudo sh -c ‘iptables-save > /etc/iptables/iptables.rules’
Then, to restore the rules on boot, systemd will utilize the iptables-restore service, which reads from the /etc/iptables/iptables.rules file by default.
Using netfilter-persistent plugin
Another method, especially popular on non-systemd Debian-based systems, is the use of netfilter-persistent:
First, you’ll need to install the necessary plugins:
sudo apt-get install iptables-persistent
During installation, you’ll typically be prompted to save your current iptables rules. If you need to save your rules at a later time, you can do so with:
sudo netfilter-persistent save
This command will save the active iptables rules, making them persistent across reboots.
Whichever method you choose, it’s crucial to regularly backup your iptables rules, especially before making any significant changes. This will ensure you have a working configuration to revert to in case of errors or issues.
Incorporating `iptables` into your Linux security strategy requires a clear understanding of your network’s structure and needs. Always test new configurations in a controlled setting and keep backups of previous rulesets. The power and granularity of iptables make it a double-edged sword: wielded with care, it’s a formidable barrier; used recklessly, it can disrupt essential network functions.
Other iptables frontend tools
Other common iptables config tools include the (originally) Ubuntu-based ufw (Uncomplicated Firewall), the systemd-based firewalld, and the ConfigServer Firewall (CSF).
UFW (Uncomplicated Firewall)
UFW, or Uncomplicated Firewall, is designed to make iptables firewall configuration more user-friendly. Originating from Ubuntu, it has been adopted by many other distributions due to its simplicity and ease of use.
Examples
Enable UFW
- sudo ufw enable
Allow SSH traffic
- sudo ufw allow ssh
Deny traffic from a specific IP
- sudo ufw deny from 192.168.1.10
Check UFW status and rules
- sudo ufw status verbose
Firewalld (systemd firewall component)
firewalld provides a dynamic firewall manager with support for network/firewall zones to define the trust level of network connections or interfaces. It has a command-line client, firewall-cmd, and a graphical interface, firewall-config, making it versatile for different user preferences.
Examples
Start and enable firewalld
- sudo systemctl start firewalld
- sudo systemctl enable firewalld
Allow HTTP and HTTPS services
- sudo firewall-cmd –add-service=http –permanent
- sudo firewall-cmd –add-service=https –permanent
Block an IP address
- sudo firewall-cmd –permanent –add-rich-rule=’rule family=”ipv4″ source address=”192.168.1.10″ reject’
Reload configuration
- sudo firewall-cmd –reload
CSF (ConfigServer Firewall)
CSF is a feature-rich firewall solution built for Linux servers. While it offers `iptables` management like the others, it also provides advanced features like login/intrusion detection and security process tracking.
Examples
Install CSF (on a cPanel server for instance)
- cd /usr/src
- wget https://download.configserver.com/csf.tgz
- tar -xzf csf.tgz
- cd csf
- sh install.cpanel.sh
Allow an IP address
- sudo csf -a 192.168.1.20
Block an IP address
- sudo csf -d 192.168.1.10
Reload CSF rules
- sudo csf -r
View configuration
- sudo nano /etc/csf/csf.conf
These tools offer more functionalities than the examples provided, but the above should give you a foundational starting point. Each of the firewall managers has comprehensive documentation that is beneficial for deep dives and advanced configurations.
ClearOS
ClearOS is a Linux distribution designed for managing server, network, and gateway functions. It is user-friendly and comes with a web-based management console. While ClearOS can be operated through its graphical interface, we’ll touch on some command-line examples for a taste of its capabilities.
Examples
Install the firewall module
(Assuming ClearOS 7, done through the web-based interface)
Navigate to ClearCenter → Software → Firewall and click “Install“.
Start and enable the firewall
- sudo systemctl start clearos-firewall
- sudo systemctl enable clearos-firewall
Allow a service (e.g., SSH)
- sudo firewall-cmd –zone=external –add-service=ssh –permanent
- sudo firewall-cmd –reload
Block an IP address
- sudo firewall-cmd –add-rich-rule=’rule family=”ipv4″ source address=”192.168.1.10″ reject’ –permanent
- sudo firewall-cmd –reload
OPNsense
OPNsense is a free, open-source firewall and routing platform based on FreeBSD. Designed to be a drop-in replacement for pfSense, it’s packed with features and is predominantly managed via a web-based interface.
Configuration Steps (Web-based Interface)
Access the web interface
Typically, after the initial setup, OPNsense can be accessed via a web browser by navigating to the device’s IP address, usually https://192.168.1.1 (default).
Setting up firewall rules
- Navigate to Firewall → Rules → LAN (or whichever interface you wish to set a rule for).
- Click the + sign to add a new rule.
- Fill out the details, such as source, destination, ports, and action (Allow/Deny).
- Click Save and then Apply Changes.
NAT / port forwarding
- Navigate to Firewall → NAT → Port Forward.
- Click the + sign to add a new rule.
- Fill out the required fields such as interface, protocol, source/destination IPs, and ports.
- Click Save and then Apply Changes.
Block an IP address
- Navigate to Firewall → Aliases and then add a new alias for the IP or range of IPs you wish to block.
- Once the alias is created, go to Firewall → Rules → LAN (or the relevant interface).
- Create a new rule with Action set to “Block” and use the alias as the source or destination.
Updating & maintenance
Regular updates are essential for security. Navigate to System → Firmware → Updates to check and apply available updates.
While both ClearOS and OPNsense have command-line capabilities, their strength and design focus lie in their respective web-based interfaces, offering intuitive setups for users of all proficiency levels. Always remember to test configurations in a controlled environment before applying them to a live production setup. Also, always remember to make backups before making any changes! NinjaOne’s backup functionality is compatible with most major OS’ backup functionality without compromising on your security.
Troubleshooting firewall configuration issues
Common issues
- Blocked Services: Legitimate services or applications getting blocked unintentionally.
- Open Vulnerabilities: Unintentionally exposed ports or services.
- Rule Conflicts: Overlapping or contradictory rules that cause unexpected behavior.
- Performance Degradation: Excessive rules leading to reduced system/network performance.
Diagnosing & resolving
- Logs & Alerts: Regularly check firewall logs for anomalies or blocked activities.
- Test Configuration: After setting up rules, test them in controlled scenarios to ensure desired behavior.
- Rule Priority: Ensure that more specific rules are placed higher than generic ones to prevent conflicts.
- Use Monitoring Tools: Tools like nmap or netstat can help visualize open ports and active services.
Maintenance & performance
- Regular Reviews: Periodically review and prune outdated or unnecessary rules.
- Updates: Keep the firewall software or firmware updated to patch vulnerabilities.
- Backups: Always back up configurations before making changes.
- Segmentation: Implement network segmentation to reduce firewall workload and enhance security.
→ Protect and support your Linux devices with ease with NinjaOne Linux Endpoint Management.
Effective firewall configuration is pivotal for Linux security
By understanding security policies, setting default rules, managing traffic flow, configuring service-specific rules, and regularly reviewing setups, users ensure robust system protection against external threats. A meticulously configured firewall is not just a gatekeeper but an essential bastion in the overall security strategy for Linux systems. Beyond merely blocking unwanted traffic, it stands as a testament to a proactive defense approach, fortifying Linux and devices against evolving cybersecurity challenges.
In addition to setting up firewalls and following cybersecurity best practices, one of the most effective ways to protect your devices is to use an endpoint management solution, such as NinjaOne’s endpoint management software. With NinjaOne, you are able to monitor, manage, and secure all your Linux devices remotely from a single pane of glass. Take advantage of NinjaOne’s many automation features to save time and boost efficiency while still ensuring the security of your IT environment.
Sign up for a free trial of NinjaOne today to see how easy and efficient IT management can be.


