

The AutoPlay media functionality for managing files from an external storage or device has conveniences and vulnerabilities. In managed environments, however, that immediately warrants some considerations.
If you want to be more cautious, here’s a guide on how to reset AutoPlay in Windows 10 to its default settings.
How to reset AutoPlay settings to the default
AutoPlay is typically disabled by default on Windows 10 devices. If it’s been modified, you can quickly revert the changes via the Control Panel. Here’s how:
Using Control Panel (Recommended)
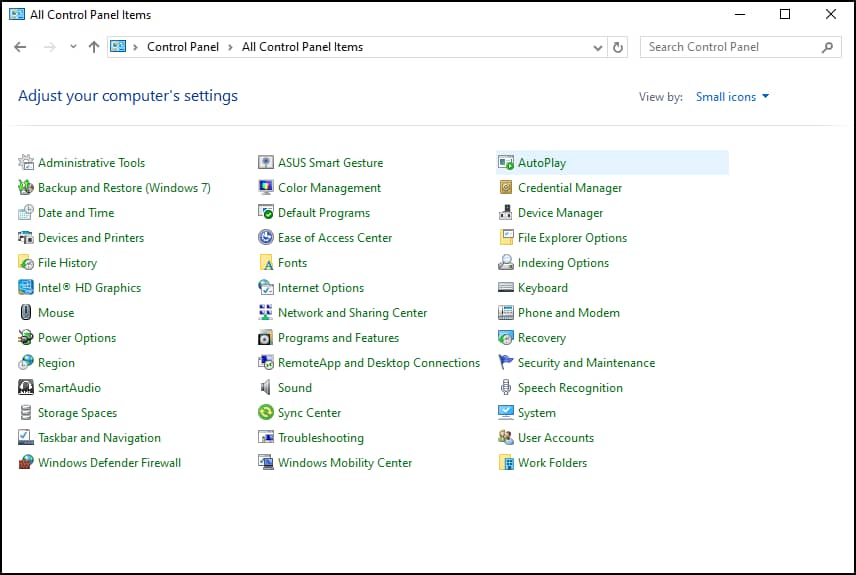
- Navigate to the Control Panel.
- On the right side, click View by and switch from Category to Large or Small icons.
- Tap the AutoPlay icon.
- Head to the bottom of the page and click on Reset all defaults.
- Press Save to confirm.
Optional: Customize AutoPlay after reset
Upon reversing the changes, you can customize how AutoPlay handles different file types and storage devices (for example, removable drives, memory cards, and CDs).
From the dropdown beside each media, you can choose to:
- Take action
- Open folder to view files (File Explorer)
- Ask me every time
- Play media (default media player)
Setting a default action or behavior for each media is a great way to control the interactions, even if you don’t completely disable the feature.
Troubleshooting AutoPlay media settings
Issue: AutoPlay still doesn’t work
If the AutoPlay behavior doesn’t take effect after setting the default for each file type, verify if the ✅ Use AutoPlay for all media and devices has been enabled at the top of the AutoPlay settings page.
Alternatively, check if Shell Hardware Detection is running:
- Type services.msc in Search to open the Services console.
- Look for Shell Hardware Detection, and confirm that the Service Status is running and the Startup Type is Automatic.
- Start the service and update Startup Type if it’s set differently.
This service is required to enable the AutoPlay media feature.
Issue: AutoPlay window doesn’t pop up
If the AutoPlay prompt doesn’t show up once you connect an external device, it may be because notifications are blocked. Ensure that it’s enabled in Settings → System → Notifications & actions.
AutoPlay media settings FAQs
1. Does resetting AutoPlay affect all user accounts?
No. If multiple end-users share the device, you must reset the settings manually for each user account.
2. Will this remove any programs or files?
No. Reverting AutoPlay settings to their default resets the AutoPlay behavior preferences for each media or storage device.
Your files will not be uninstalled or modified during this process.
3. What if the AutoPlay option is grayed out or not working?
The AutoPlay functionality may have already been disabled via the Group Policy or the Windows Registry.
To check the Registry, go to:
HKEY_CURRENT_USER\Software\Microsoft\Windows\CurrentVersion\Policies\Explorer
If there is a 32-bit DWORD value (e.g., NoDriveTypeAutoRun) to disable AutoPlay, it will have a 255 decimal input to disable the feature.
⚠️ Warning: Unwanted changes in the Registry can severely impact your device’s performance. Before making any modifications, check out our guide on backing up the Windows Registry.
If you’re running Windows Pro or Enterprise, open the Group Policy Editor (regedit.msc) and navigate to Computer Configuration → Administrative Templates → Windows Components, then select AutoPlay Policies.
Double-click Turn off AutoPlay to open Properties. Toggle ✅ Enable and select All drives to disable the feature.
Balancing convenience and security when changing AutoPlay media settings
AutoPlay can be convenient in a secure environment with multiple layers of security or policies for incoming hardware and software. However, it can be a vulnerability if the IT infrastructure has low visibility.
That said, if you want to allow the AutoPlay media feature within your workspace, consider doing so under stringent protocols and only after setting a clear data backup and recovery plan to protect critical business data.


