

In this guide, we discuss how to use Windows Activation Troubleshooter, a built-in tool designed to help users diagnose and resolve system activation issues quickly and easily to maintain operational efficiency.
We provide a comprehensive overview of the Activation Troubleshooter, explaining its purpose, when to use it, and step-by-step instructions on how to resolve Windows Activation issues.
Seamlessly manage all your Windows endpoints with NinjaOne’s robust solution.
What is the activation troubleshooter?
The activation tool in Windows 10/11 is intended to simplify the troubleshooting process by identifying common activation issues and offering tailored solutions based on the specific issue.
This feature is invaluable for users who experience activation errors after hardware changes or system reinstalls. Windows activation troubleshooter eliminates the need for manual intervention, reducing human error and the time required to resolve the activation process.
Some common activation errors include:
- Hardware changes: Replacing components like the motherboard can affect the activation process since licenses are often linked to hardware.
- Invalid product keys: Entering an incorrect or unauthorized key prevents activation.
- License mismatches: Using a key intended for a different edition of Windows can result in errors.
- Network or server issues: You can encounter a product key validation error in Windows due to connectivity problems or a misconfigured server setting.
The activation troubleshooter allows you to resolve these issues successfully, even without extensive technical expertise.
How to use the Activation tool in Windows 10/11
1. Open Settings. You can do this by clicking the Start button and selecting the gear icon to open the Settings app. Alternatively, you can type “Settings” in the search bar.
2. Navigate to Activation. In the Settings window, go to “Update & Security” and then click “Activation” in the left-hand menu.
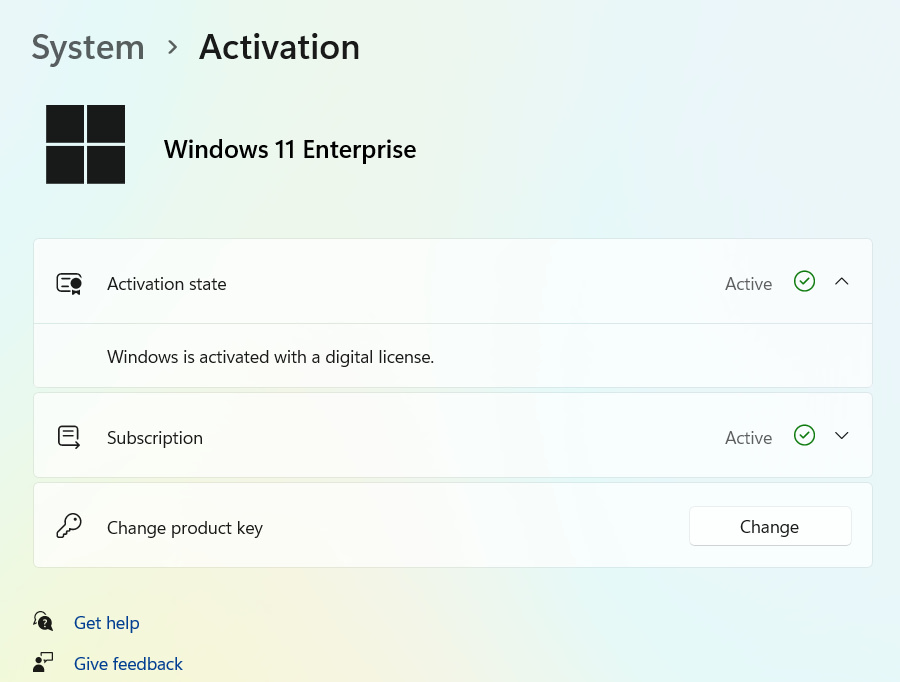
3. Run the Troubleshooter. Under the “Activation” section, look for the tab that reads, “Troubleshooter”. Take note that this will only appear if your system detects an activation issue. If not, your screen should look like this:
4. Follow the instructions. The troubleshooter analyzes the system and provides recommendations based on the detected issue. Follow the prompts to resolve the issue.
5. Restart if necessary. Once the troubleshooter has resolved the issue, restart your computer to ensure the changes have occurred.
Windows activation error troubleshooting
In this portion of the guide, we help you resolve Windows activation errors.
Resolve “Windows not activated” message
You may encounter some Windows 11 license activation errors for various reasons. Thankfully, there are simple steps you can take to resolve them.
1. Go to Settings > Update & Security > Activation to see the error details. You can also type “Activation” in the Start search bar. Look for messages such as “Activation failed” or “We can’t activate Windows on this device”.
2. You should see a button or command called “Troubleshooter”. Click on it so it can start analyzing the error.
3. If you see a prompt to sign in to your Microsoft account, use the account linked to your digital license. Make sure that it’s the same one you used when buying your license.
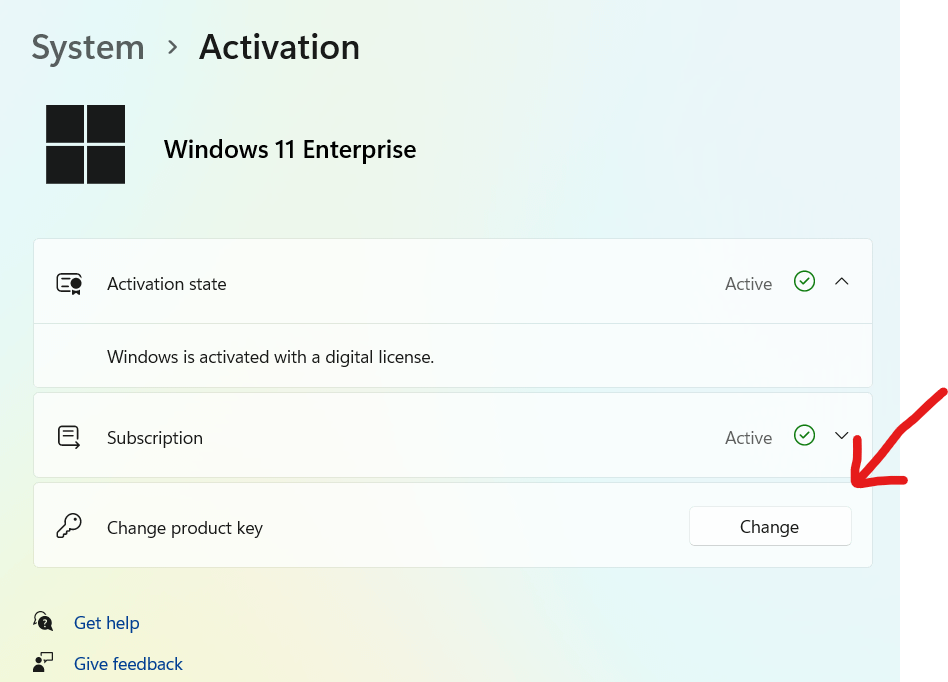
4. Double-check that the key you’ve entered matches the Windows version installed on your device. You can re-enter the key by clicking “Change Product Key” in the Activation settings.
5. Make sure you have a stable internet connection. Confirm that your device is online and retry activation.
6. If the problem persists, contact the Microsoft’s support team.
Resolving specific issues
- Using a digital license to activate Windows: Ensure you’re signed in with the Microsoft account linked to the digital license. This prevents errors. If you need to reactivate your Windows account, the troubleshooter will guide you through the process.
- Product key validation: Double- and triple-check your product key for typos and verify that it matches your Windows edition.
What to do if the troubleshooter fails
In general, the troubleshooter is the best way to fix Windows activation problems. However, if it doesn’t completely resolve the issue, we recommend trying to:
- Manually check the product key: Go to the Activation settings using the steps listed above and ensure the key matches your Windows version. Often, Windows 11 license errors are merely caused by typos.
- Contact Microsoft support: Reaching out to the Microsoft team is a great Windows 10 activation fix.
- Reinstall Windows: In the worst-case scenario, consider reinstalling Windows. This should only be considered as the last resort. We recommend backing up your data first before attempting this. Read this guide on creating a successful backup strategy for more information.
NinjaOne offers a robust Windows endpoint backup solution for seamless data protection.
Using Windows activation troubleshooter
The Windows activation troubleshooter is an easy way to resolve issues with your digital license. Ideally, you should not be using this troubleshooter at all, but it’s always wise to know how to troubleshoot activation errors in Windows—after all, it’s always better to be prepared for the worst, even if it never happens.
Frequently Asked Questions (FAQs)
1. Can I use the activation troubleshooter without an internet connection?
No. You need an internet connection to communicate with Microsoft servers.
2. Does it work for volume licensing?
No. The activation troubleshooter is designed for retail and digital licenses. Volume license activation issues require different tools.
3. How do I find my digital license or product key?
A digital license is tied to your Microsoft account. Product keys can be found in purchase confirmation emails or product packaging.


