
In NinjaOne, establishing a cohesive brand presence is straightforward with the Branding settings. This feature allows you to customize the look and feel of your portal, creating a branded experience for both internal technicians and end users. By incorporating your organization’s logo, color scheme, and other branding elements, you can ensure that your portal reflects your company’s identity, fostering familiarity and reinforcing brand recognition in every interaction. This documentation will guide you through configuring your NinjaOne portal to align with your brand identity seamlessly.
Enabling Your Branded Site in NinjaOne
Follow the steps below to enable and configure your branded site within the NinjaOne platform:
1. Access the Branding Settings:
- In the left navigation pane, navigate to Administration.
- Under the General section, click on Branding.
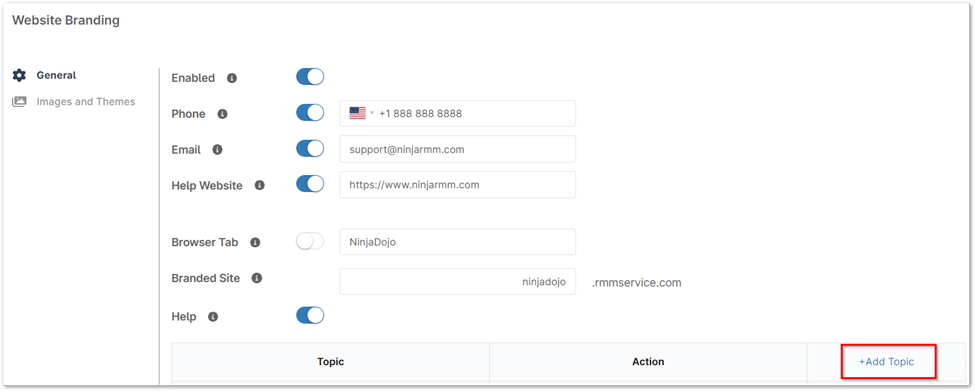
2. Edit Website Branding:
- In the Website tab, click the Edit button to access your branding options.

3. Enable Branded Site:
- Locate the Enabled toggle switch and set it to On to activate your branded site.
4. Configure Additional Branding Settings:
- Enabled: Toggle this option to activate or deactivate your branded site. When enabled, your customized branding elements will be visible to users.
- Phone: Enable this toggle to display your organization’s support phone number on the branded site. This allows users to easily access your support contact.
- Email: Enable this option to show your organization’s support email address on the site, offering another method for users to reach out for assistance.
- Help Website: This toggle allows you to display a link to a dedicated help website where users can access additional resources or support.
- Browser Tab Title: Configure the text that appears in the browser tab when the branded site is accessed. This helps in further customization by allowing you to define the title that represents your organization.
- Hostname: Specify a custom hostname for your NinjaOne instance. This is typically the URL that users will use to access your branded site (e.g., support.rmmservice.com).
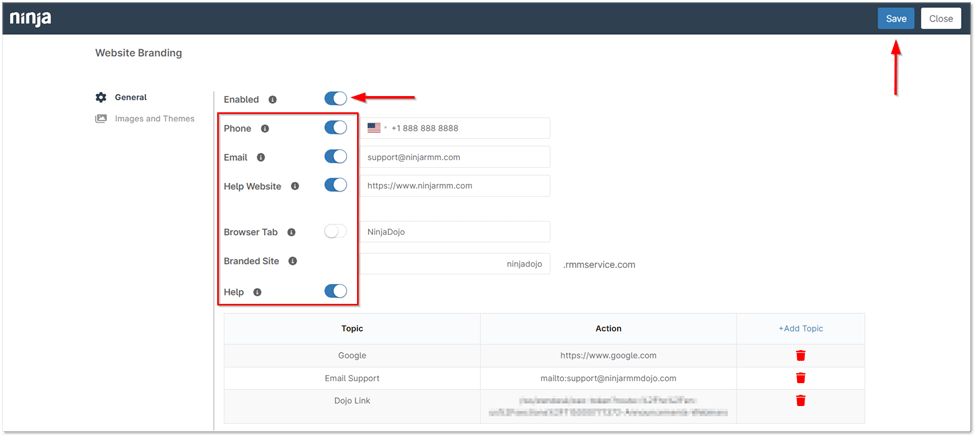
Help Resources Menu:
- Help Search Bar & Suggested Help: This setting enables a search bar on the branded site that users can use to quickly search for help topics. Suggested help articles may also be displayed based on user queries.
- Submit Ticket: Enabling this option will provide users with the ability to submit support tickets directly from the branded site. This streamlines the process of reporting issues or requesting assistance.
- Help Links: Activate this setting to display links to key support resources, such as FAQs, knowledge bases, or documentation, giving users easy access to additional help options.
5. Save Changes:
- Once all configurations are complete, click the Save button located in the upper-right corner to apply your branding settings.
Configuring Images and Themes for Your Branded Site in NinjaOne
Follow the steps below to configure logos, icons, and theme colors for your branded site:
1. Access Images and Themes:
- From the branded site editor, navigate to the Images and Themes section to modify your site’s logos, icon images, and color scheme.
2. Upload Logos and Icons:
For each image, click the Change button to upload the desired files:
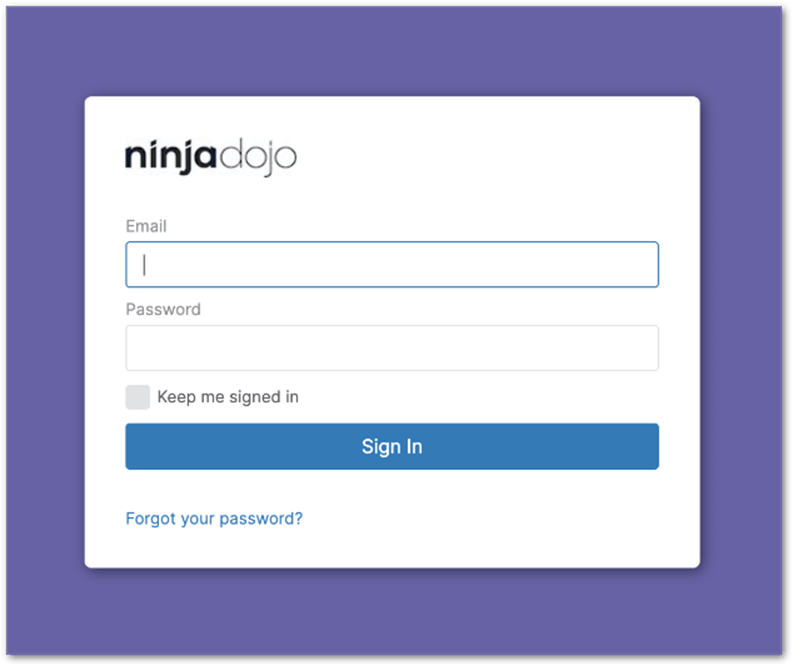
- Login Logo: The logo displayed on the login page.
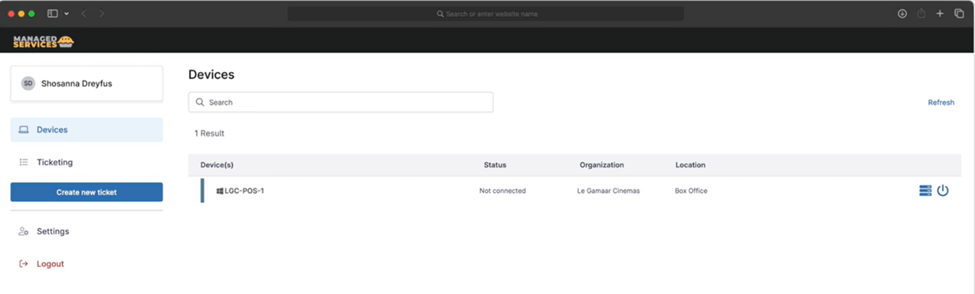
- Application Logo: The logo displayed within the NinjaOne application interface.
- Browser Icon: The icon that appears in the browser tab when the site is accessed (favicon).
Supported image formats are .png, .jpg, and .bmp.
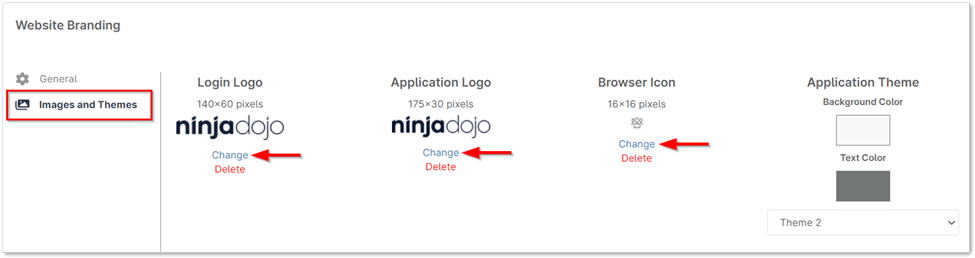
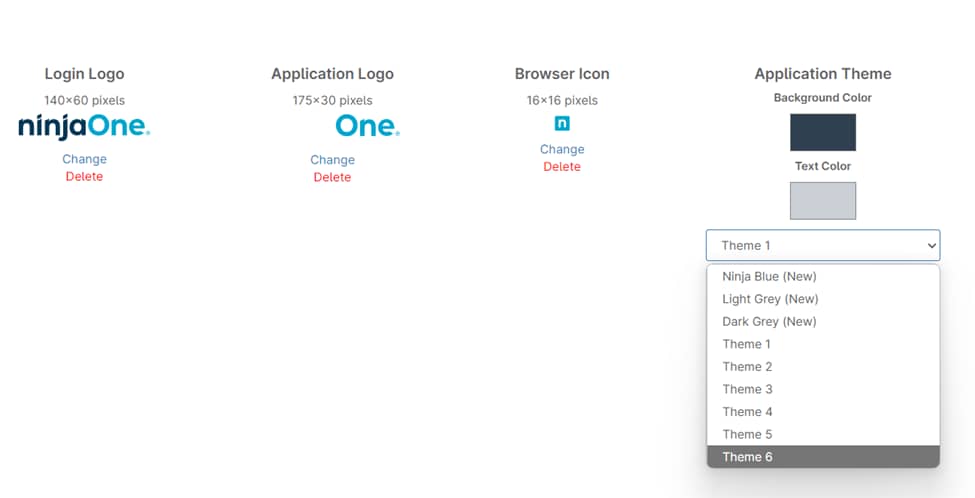
3. Select a Theme:
- Choose a theme from the nine available color schemes to apply a consistent visual style to your branded site.
Accessing Your Custom-Branded Site in NinjaOne
To access your custom-branded site, follow the steps below:
1. Navigate to Your Branded Hostname:
- Open a web browser and go to your branded URL: <your hostname choice>.rmmservice.com.
- If configured, your login logo will be displayed on this page.
2. Log in to the Branded Site:
- Enter your NinjaOne credentials to log in.
- After logging in, you should see the following, if configured:
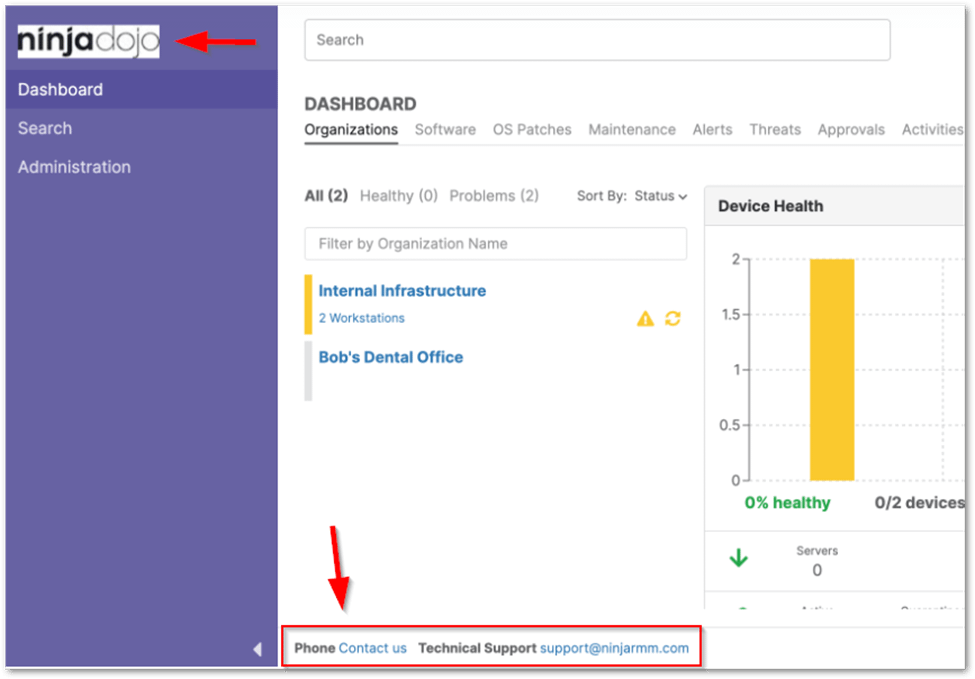
- Application logo in the upper-left corner of the page.
- Support contact information (phone number and/or email) at the bottom of the page.
Benefits and Best Practices for Implementing NinjaOne Branding Setup
- Enhanced Professional Appearance: Customizing your branded site with logos, themes, and a personalized URL ensures that your company’s visual identity is consistently represented across all client interactions, enhancing trust and professionalism.
- Improved User Experience: Providing easy access to support resources such as help links, ticket submission, and contact information directly from the branded site streamlines the support process for users, reducing confusion and improving efficiency.
- Centralized Support Resources: The inclusion of a help search bar, suggested help articles, and direct links to support documentation ensures users can find the assistance they need quickly, minimizing downtime and improving resolution times.
- Strategic Hostname Configuration: Using a custom hostname (e.g., support.yourcompany.com) helps create a unified and easily recognizable support portal, making it easier for users to remember and access.
- Seamless Integration with Branding Assets: Ensure that all branding elements—logos, color themes, and contact information—are kept up to date and consistent across the branded site to maintain a professional, cohesive look that reflects your organization’s identity.