
What is SysTray Setup? The NinjaOne agent shows up as a small icon on your computer. You can find it in the bottom right corner (Windows) or the top menu (macOS). This icon lets you quickly check if the agent is working, for quick access to essential tools like running terminal commands, submitting help requests, and customizing your settings. You can also customize this icon to match your company’s style using NinjaOne’s settings. This lets you change how the icon looks and what it does, making it fit better with your brand and user experience.
How Can The Systray be Enabled?
Setting up a Systray:
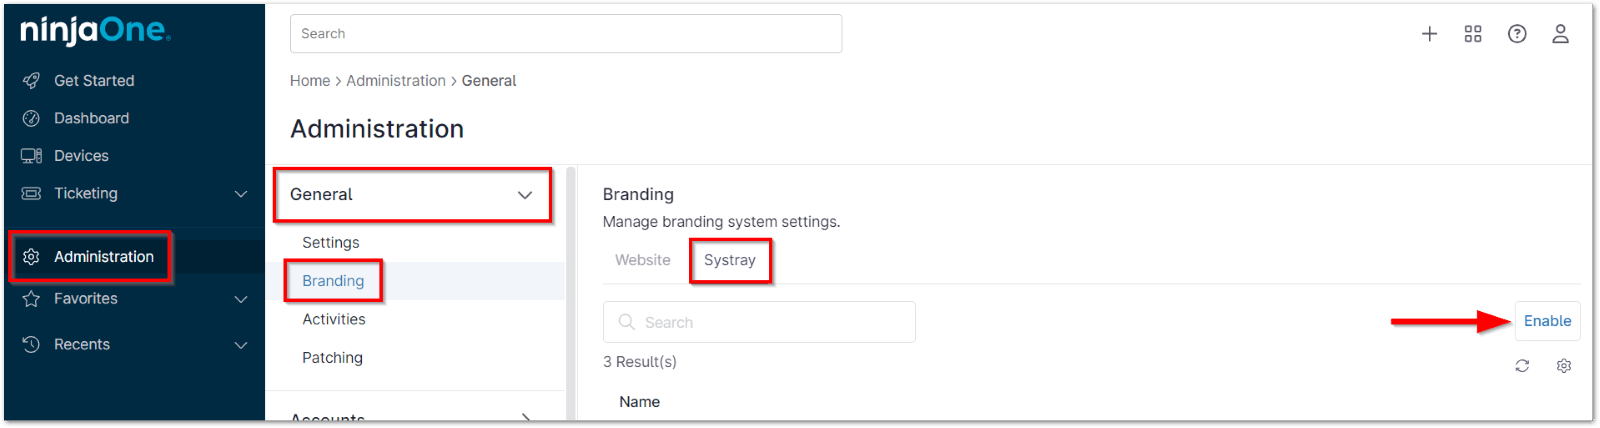
1. Navigate to the Administration tab.
2. Open the Branding tab and select Systray.
3. Click the Enable button to enable the Systray feature.
4. Customize an existing Systray or add a new one:
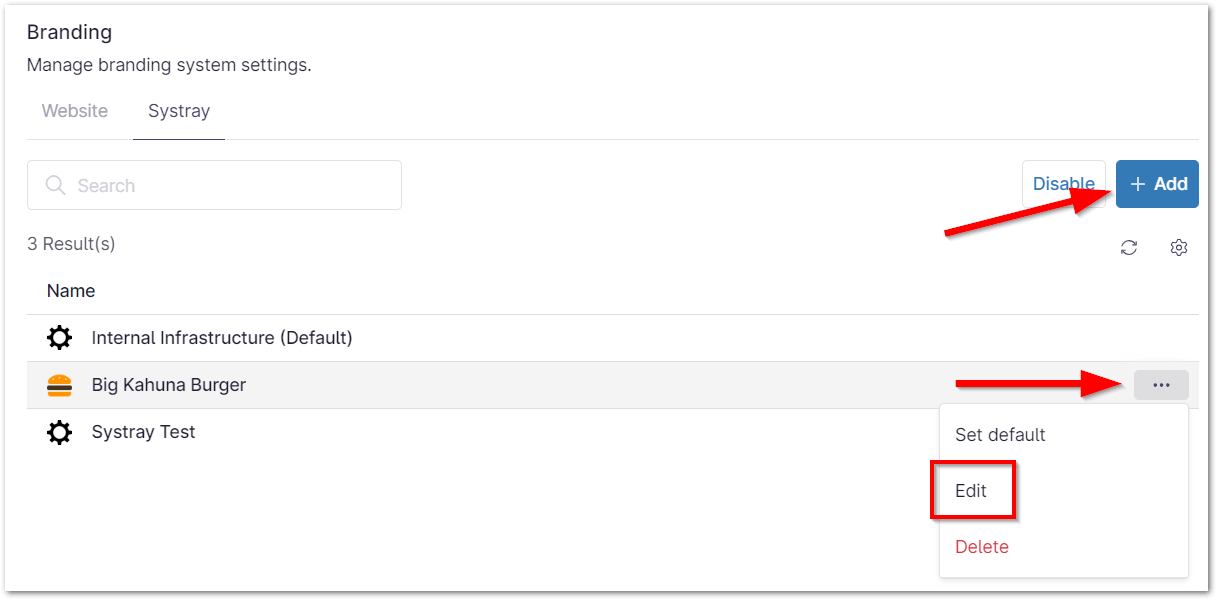
Customize Existing Systray:
- Hover your cursor over the systray that you’d like to edit. Click on the ellipsis icon and select Edit from the drop-down.
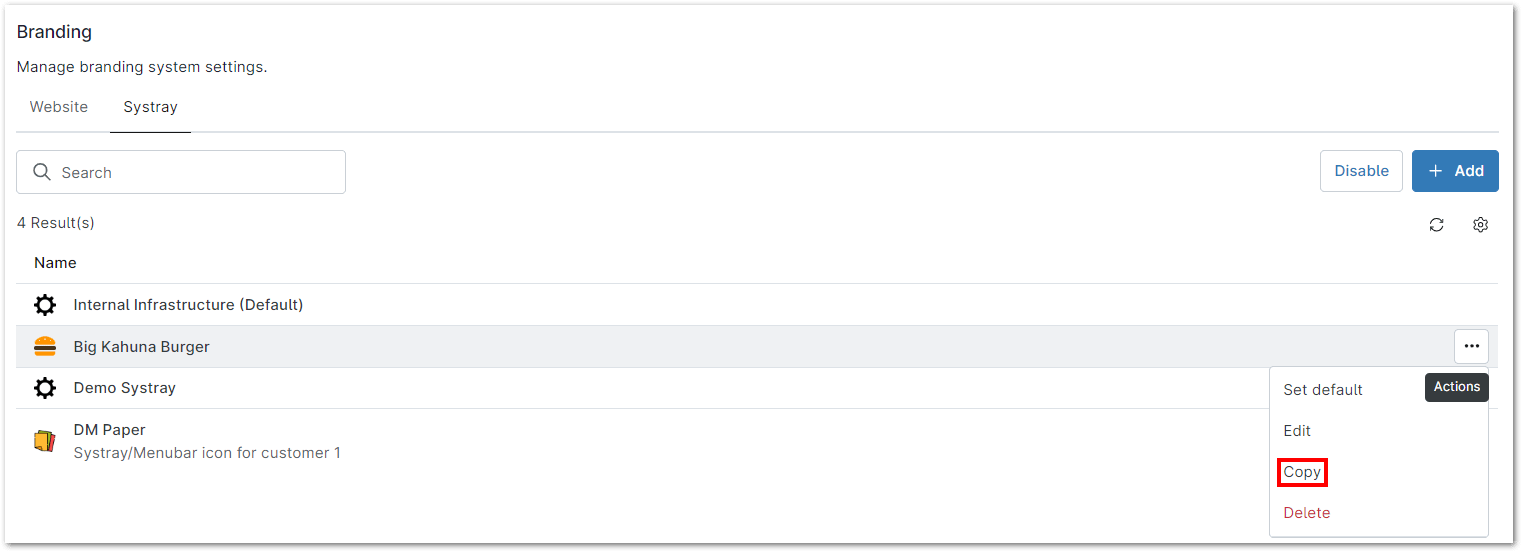
- Click the ellipsis to autofill and copy your systray.
Add New Systray:
- Select the Add button to add a new Systray.
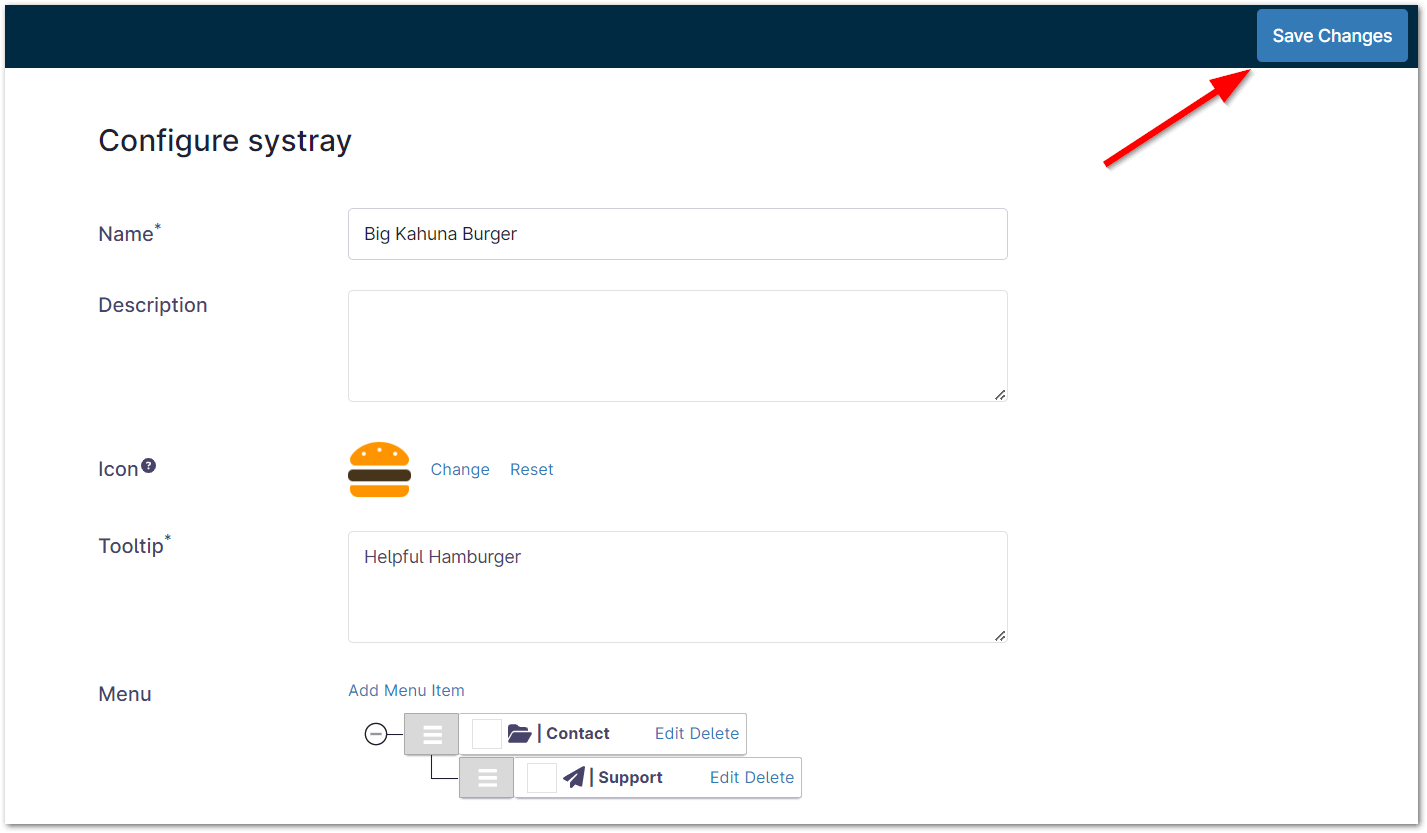
- Configure new Systray parameters (see the steps below for more information about the available options) and select the Save Changes button.
Systray Configuration Options:
Name
A name helps you quickly identify the icon and its associated functions without having to hover over it or click on it.
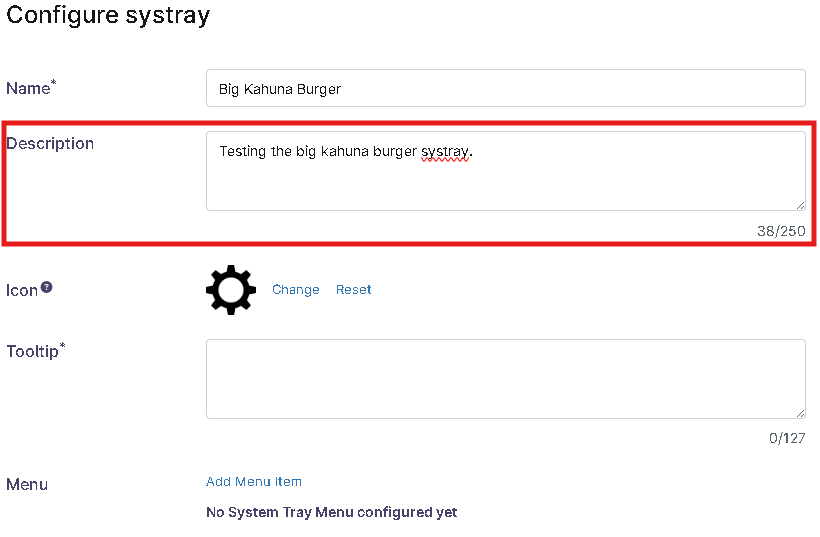
Description
A description provides additional context or information about the icon’s function, especially if the name alone is not immediately clear.

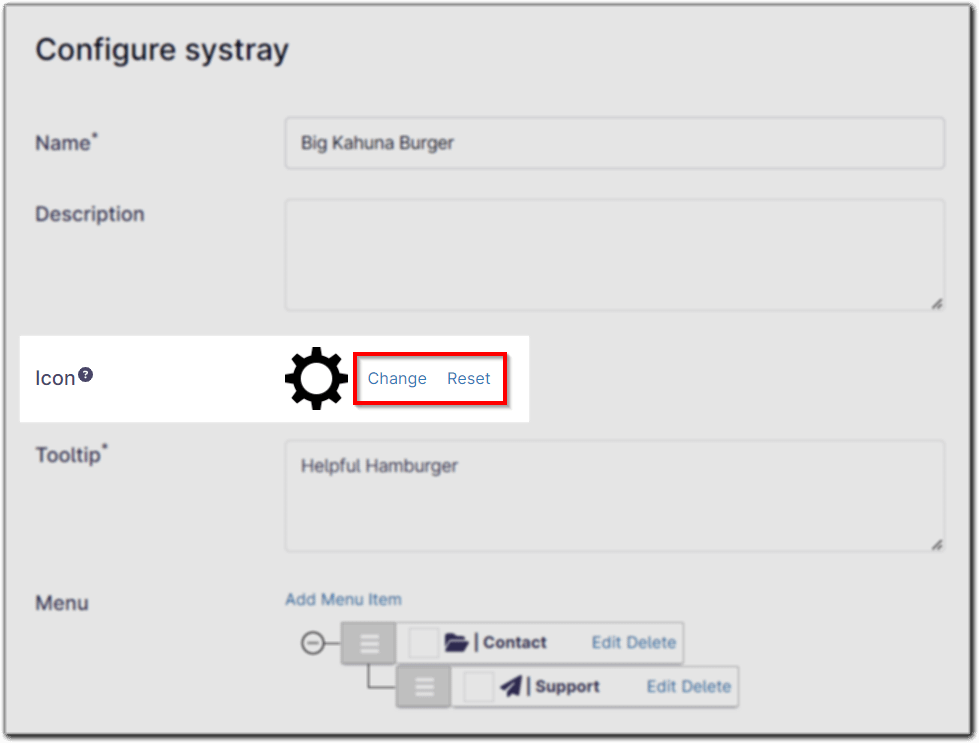
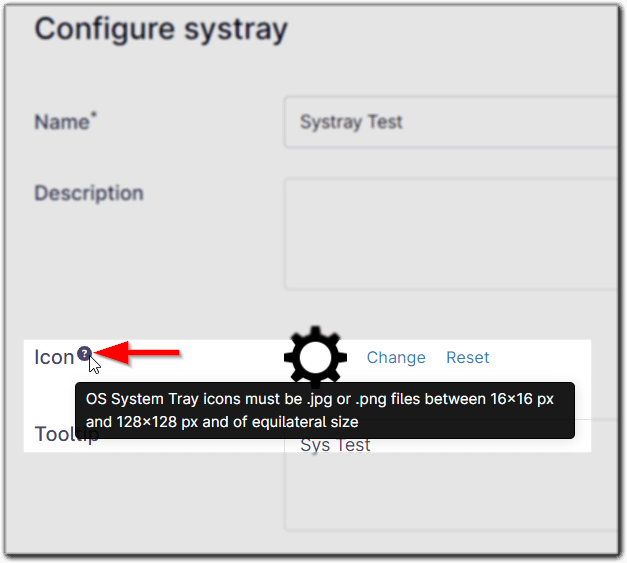
Icon
Important Note: The systray icon must be .JPG or .PNG files between 16×16 and 128×128 pixels, of equilateral size.
There are two options to configure the icon image:
- Change: Select the Change option to change the icon image.
- Reset: Select the Reset option to reset the icon to the default image shown below.
Tooltip
Add text that displays when a user hovers their cursor over the information icon.
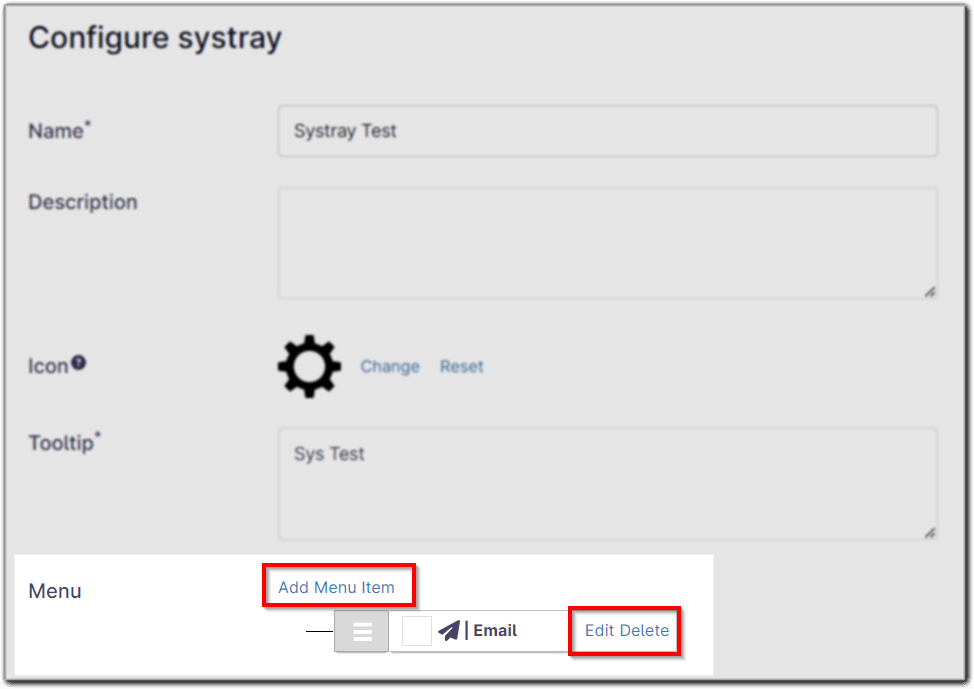
Menu
1. Select the Add Menu Item option to add menu items to the Systray icon.
Refer to the Menu Items section for more information.
The Menu Item window is dynamic, depending on the option selected.
For each item, you have the ability to add a custom icon to represent that feature.
2. Select the Edit option to edit an existing menu item.
3. Select the Delete option to delete an existing menu item.
4. Organize and nest your menu items as necessary. Then, click Save Changes in the top right corner.
- Drag and drop items in the menu tree to arrange the menu items as desired.
- Multiple menu items can be nested together in Groups shown below.
Menu Items:
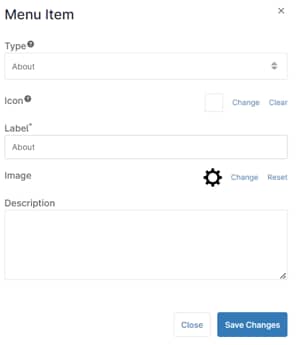
About
Allows you to include information about your company.
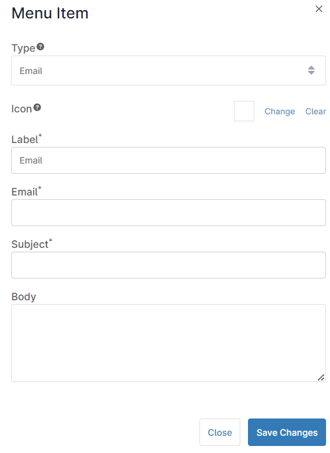
Allows you to customize an email that a customer can send to you.
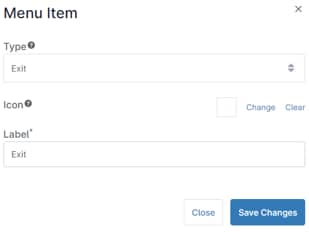
Exit
Inserts an “exit” option to allow your customers to close out of the Systray executable.
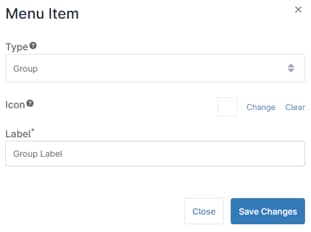
Group
Allows you to create Menu headings for your Systray items.
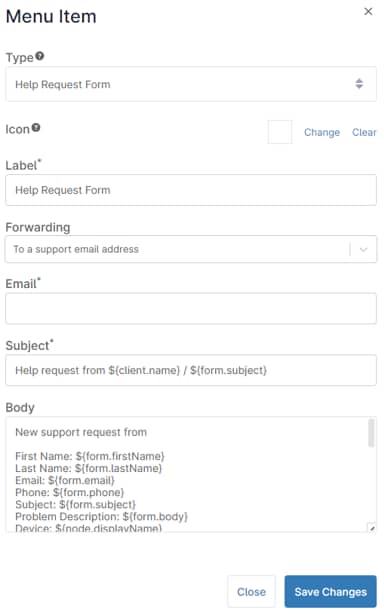
Help Request Form
This allows you to configure a dynamic form that can be forwarded to an email address, to your integrated PSA tool, or to NinjaOne Ticketing.
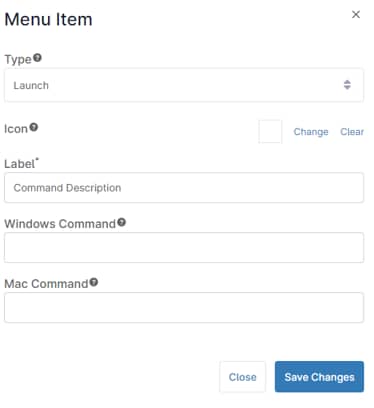
Launch
Allows you to populate launch commands for your customers to use.
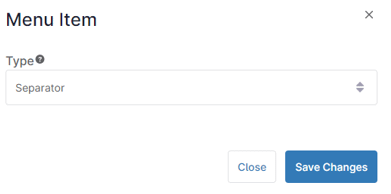
Separator
Inserts a line separator between menu items or groups.
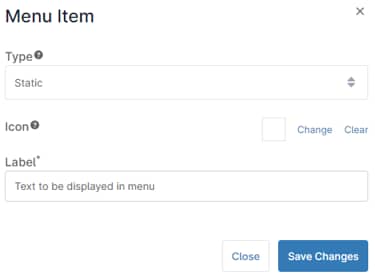
Static
Allows you to enter static text that will be shown.
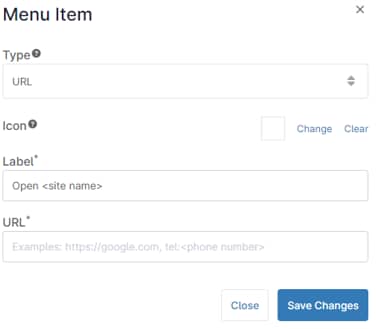
URL
Allows you to configure specific URLs for your customers to launch as needed.
Add Automation on the menu items:
- Automations can now be added as menu items in Systray.
- It will only display automations based on the operating system of the endpoint.
- When a user clicks an automation, the RMM agent will run the automation, and all scripts associated with it in sequence.
- These scripts are executed as System.
- Automations run from Systray will trigger an activity at the device level: “Start Requested by Device End User”.
- Can filter device activities by “Start Requested by Device End User”.
Deploying the Systray Configuration:
Once the systray has been configured, it can be deployed to a single or multiple organization.
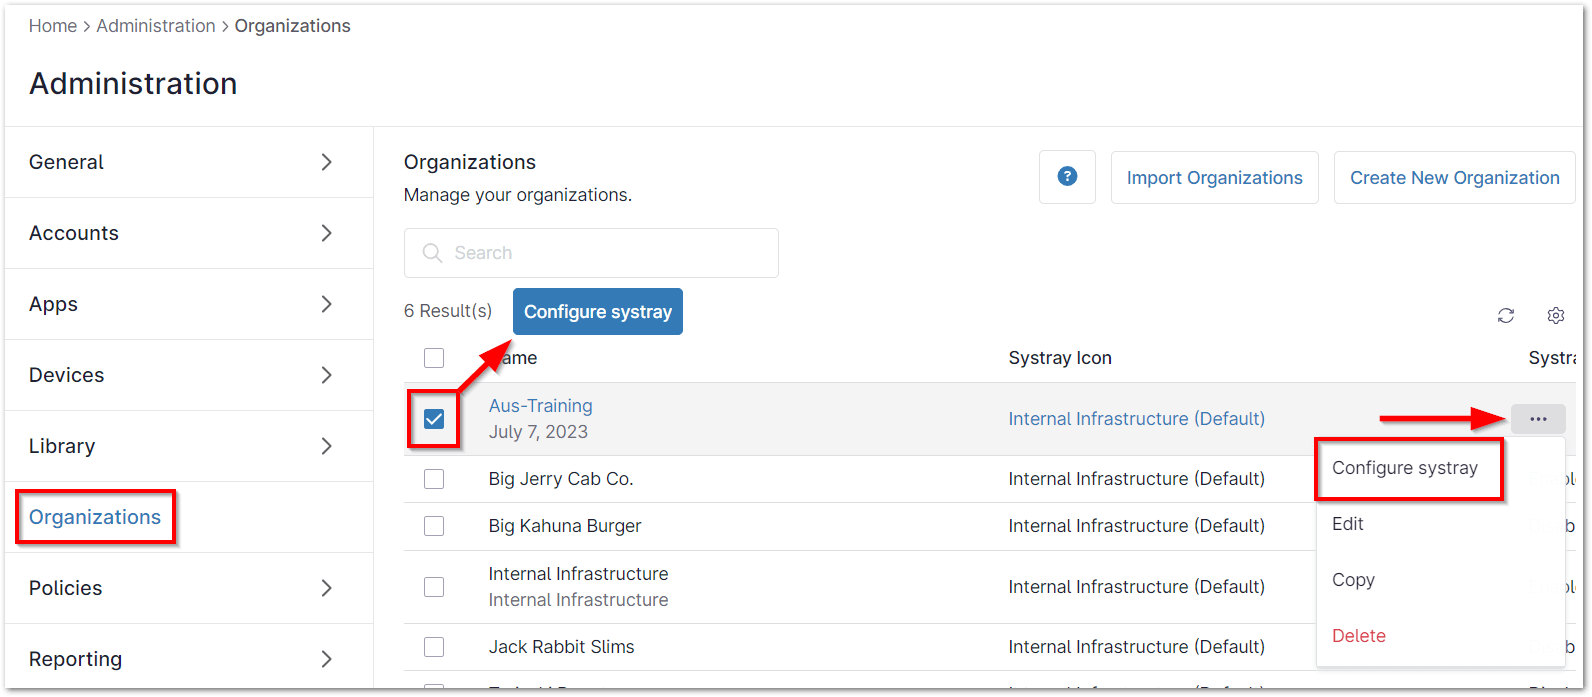
1. Navigate to the Administration > Organizations tab.
2. Activate the checkbox next to the desired organization. You can select more than one organization.
3. Click the Configure systray button or select the ellipse icon and select Configure systray from the drop-down.
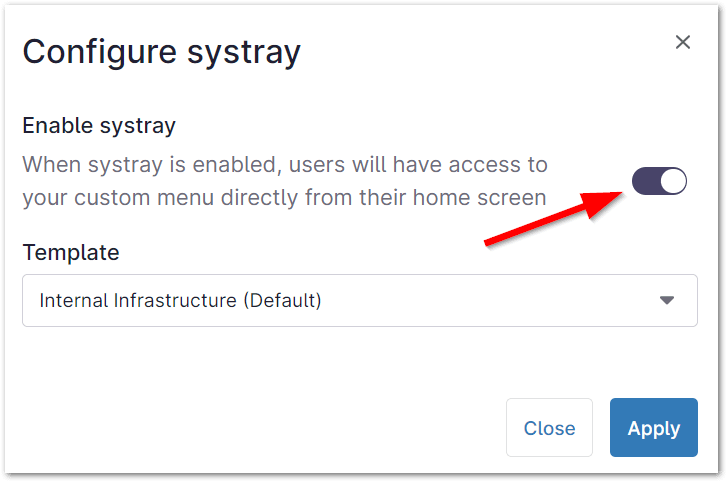
4. Toggle the Enable systray switch and select the desired systray template.
5. Select Apply to save changes.
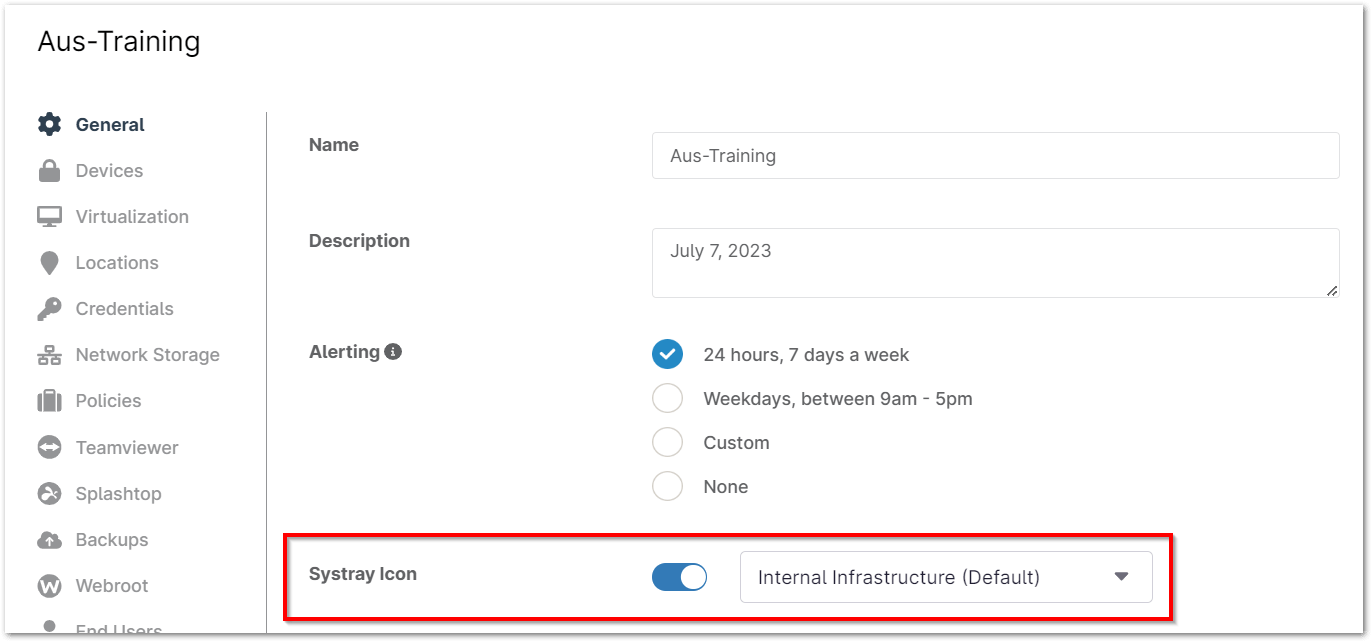
Alternatively, the Systray icon can be deployed from the organization level:
- Navigate to the Administration > Organizations tab.
- Click on a single organization.
- Activate the Systray Icon toggle switch and select desired systray icon template from the drop-down.
- Click Save.
Deleting a Systray:
Important Note: Ensure that the systray is not configured or associated with any organization before attempting to delete it.
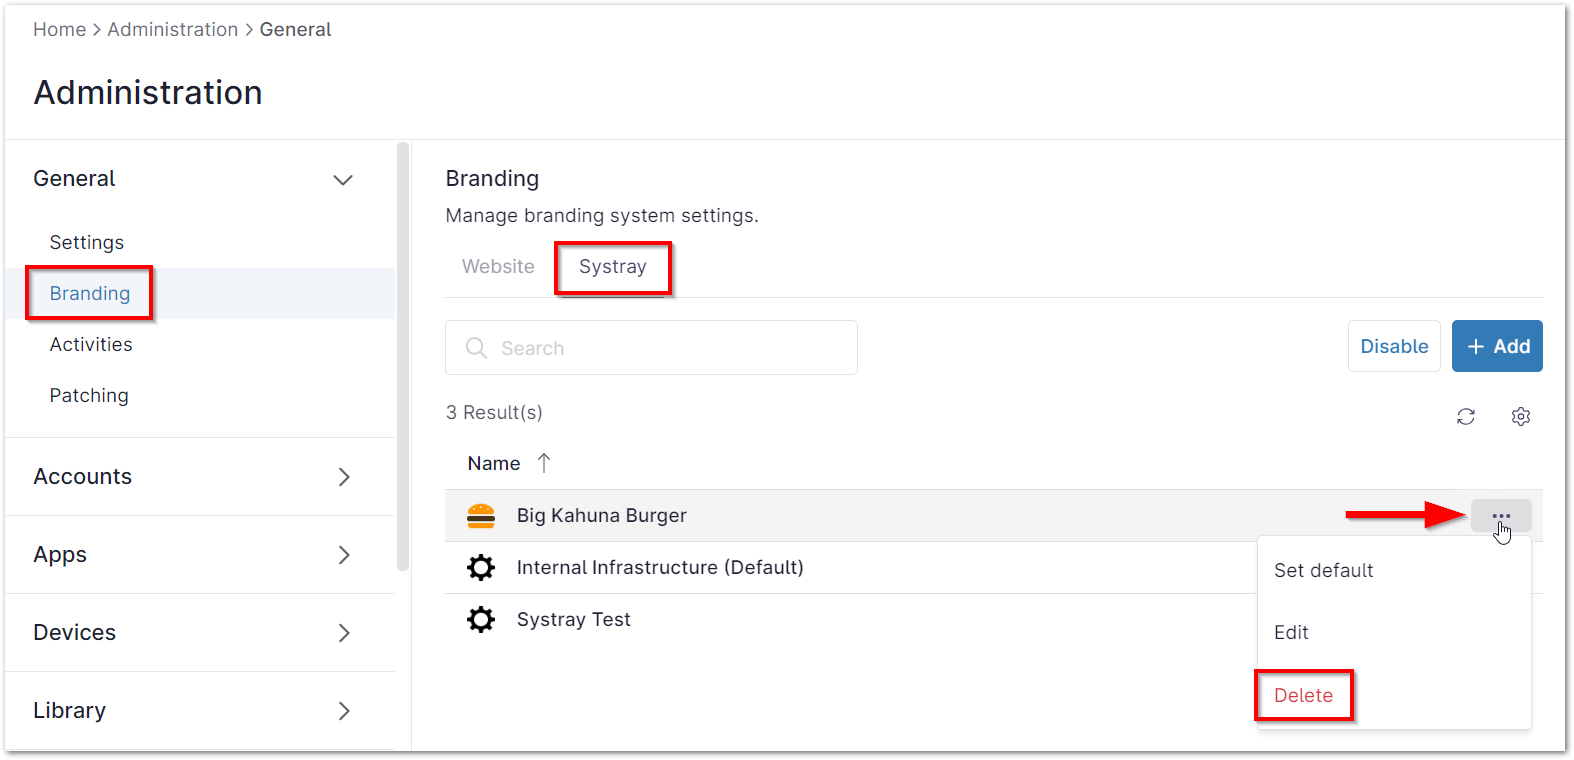
1. Go to Administration > General > Branding and open the Systray tab.
2. Click on the ellipse icon of the systray to be deleted and select Delete.
A notification displays to confirm the deletion of the systray.
3. Select the Delete button.
If the systray is currently configured with any organization, an error message appears with a list of the organization(s) configured with that systray. You will not be able to delete the systray until is no longer configured to any organizations.
Click on the organization that appears in the dialogue box to change that organization’s systray.
User experience:
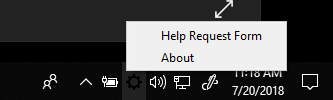
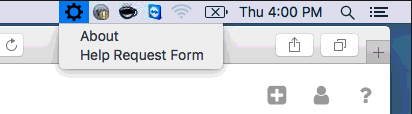
Once the systray icon is deployed, the user will see the icon you designated (or the default gear icon) and can interact with the Tooltips you have configured.
Windows
Mac
Linux
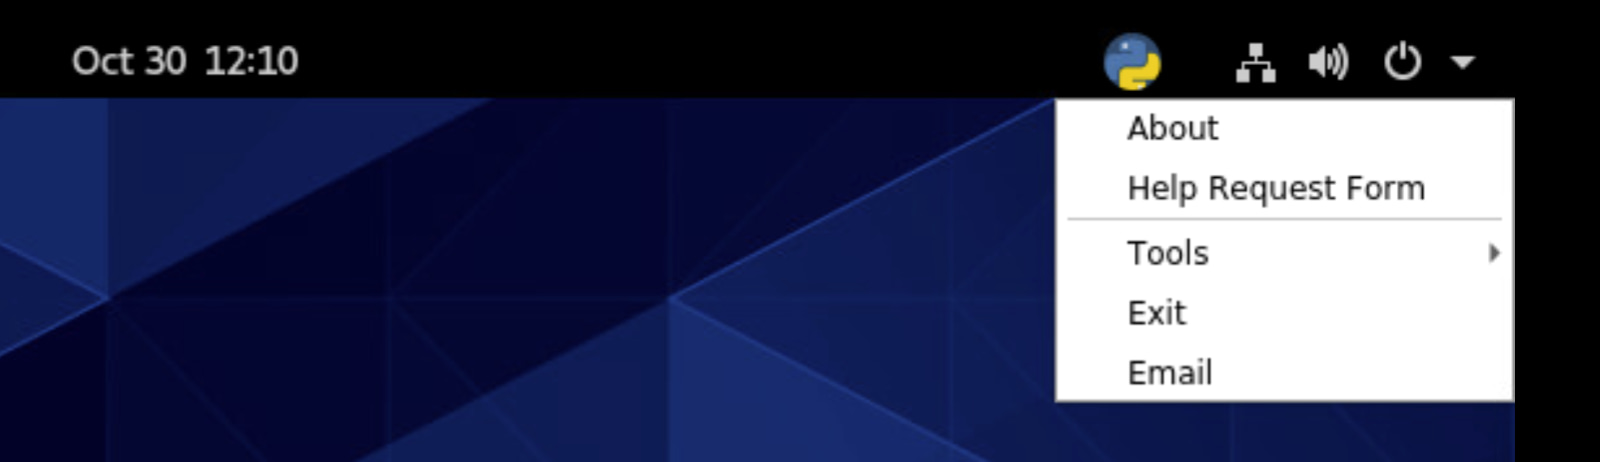
Important Note: To use the systray icon with the Linux agent, you may need to install a tray extension (such as GNOME). The tray extension will depend on the desktop environment that is being used.
Benefits, Strategies, and Best Practices of Systray With NinjaOne
- Improved Accessibility: Provides a convenient and easily accessible way for users to interact with the NinjaOne tool.
- Consistent Presence: The systray icon ensures that NinjaOne is always accessible and ready to assist, regardless of your current application or window.
- Customizable Actions: Allows you to add custom menu items to the systray, providing users with quick access to specific actions or information.
- Branding: Enables customization of the systray icon to match your organization’s branding, fostering a more cohesive user experience.