
What are Organizations in NinjaOne?
NinjaOne offers a comprehensive IT monitoring and management platform that streamlines operations, enhances efficiency, and simplifies IT processes for both Managed Service Providers (MSPs) and IT departments. It consolidates various IT management tasks into a single, user-friendly interface, enabling better service delivery and operational control. MSPs often have multiple customers and IT departments may be large, and they need to segment their installed endpoint base.
In NinjaOne, an “organization” acts as a core structural unit within the platform. It functions as a container for all devices, users, and configurations related to a specific customer or internal department. This segmentation allows users to keep distinct environments isolated, ensuring data integrity and security across different entities.
Additionally, policies can be tailored and applied to each organization based on its specific needs and requirements, providing targeted management and control.
Setting up separate organizations for each customer or internal department enables efficient management of multiple environments, streamlining workflows and maintaining clear boundaries between clients’ data.
Organizing different business units or departments into separate organizations helps in applying targeted policies, managing assets, and monitoring systems based on specific needs. Overall, using organizations in NinjaOne enhances organization, simplifies IT management, and supports effective oversight.
Creating and Configuring Organizations with NinjaOne
To create an Organization in NinjaOne, follow these instructions:
1. Go to Administration, then Organizations.
2. Click Create New Organization on the right. The organization editor appears.
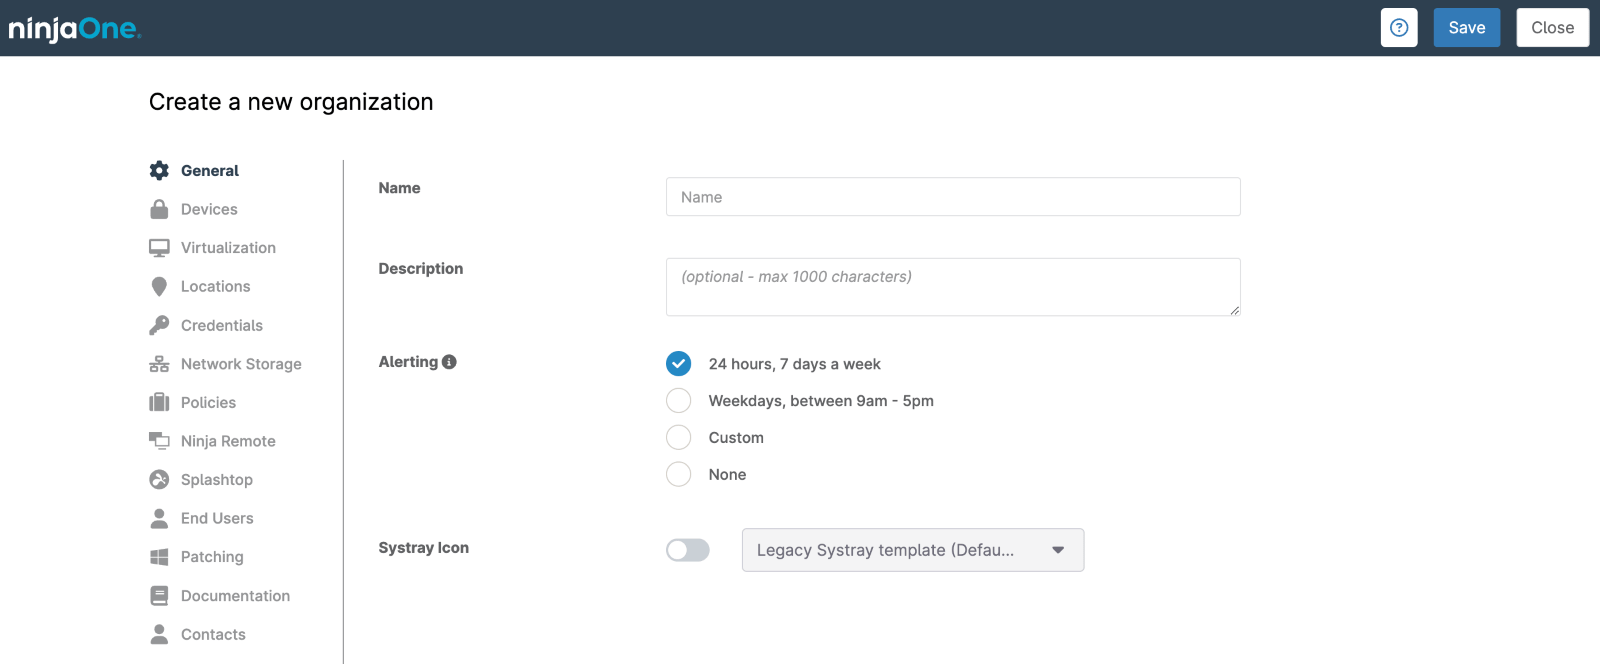
3. Fill out the fields in the General tab, the only mandatory field is Name.
4. Click Save.
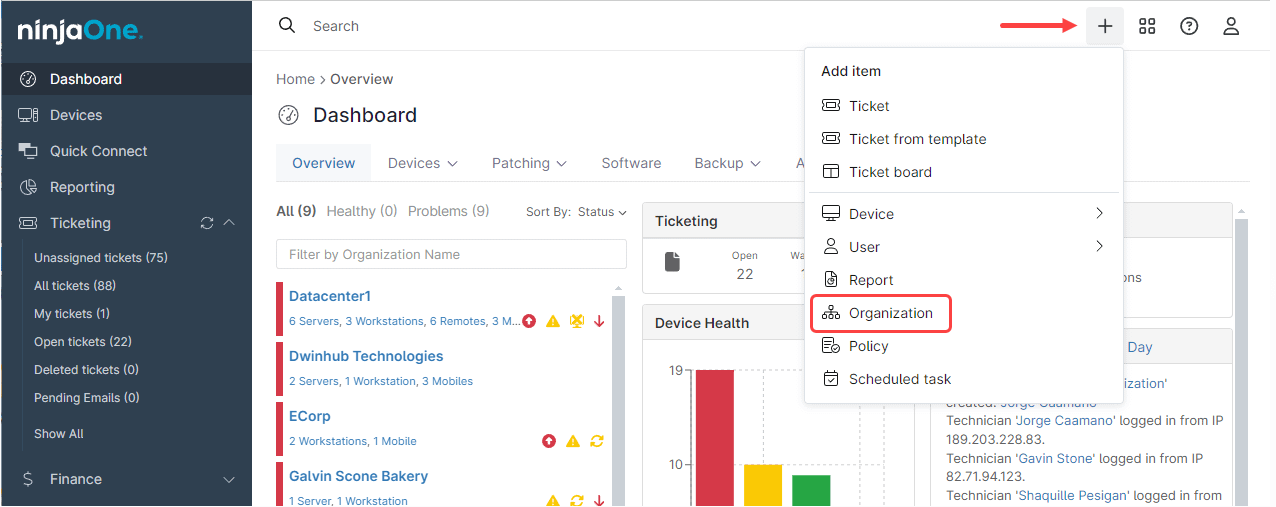
5. One alternative way to create an organization is clicking the + sign from the NinjaOne main screen, and then select Organization.
What are the Other Fields in the Organization Editor?
The Organization Editor has 13 tabs, each of them are explained below.
1. General. The General tab is for the Organization name and its description. There are two other fields:
- Alerting: this defines whether alerting is enabled and the time and days of the week that the alerts will be sent to technicians. There are predefined timings, but custom times can be defined. Alerting applies to email, SMS, and other notification channels.
- Systray Icon. This defines the icon that will appear on the endpoints having the NinjaOne agent installed.
2. Devices. This tab defines How the new devices will be approved for the organization. There are three sub-tabs:
- Security: This is for defining how the device approval will be made: Automatic, Manual or Reject.
- Status: The devices that are pending for approval will appear here to be manually approved.
- Discovery Jobs: This tab is for creating ad-hoc or scheduled Active Directory discovery jobs that will be run from a domain controller. These jobs discover new computers in the directory and add them to the organization.
3. Virtualization. This is for adding the ESXi or Hyper-V hosts that will be the monitor delegates for VM monitoring.
4. Locations. This is used to add device locations within the organization. In addition to defining a physical location where endpoints are located, each location may have its own policies automatically applied to devices residing at that location. This means that locations are not necessarily a physical location, it may be thought of as a set of endpoints sharing common attributes, for instance, accounting or engineering. Locations also have importance in patching, because a location can have different patching policies, including a WSUS server. It is all defined in this tab.
5. Credentials. This is where the credentials needed by NinjaOne are stored. Some examples are the SNMP credentials, Active Directory credentials with domain admin rights, Telnet, etc.
6. Network Storage. This is where the local storage for backups is defined, path and credentials.
7. Policies. In this tab is where the default policies are set for each device role in the organization.
8. Ninja Remote. In this tab is where the Ninja remote app is configured once it´s enabled.
9. Splashtop. In this tab is where the Splashtop app is configured once it´s enabled.
10. End Users. Here is where the end user list is maintained. End users can be manually added, imported, removed, and assigned to devices.
11. Patching. The WSUS server settings can be defined here.
12. Documentation. Here is where the document delegate devices can be set.
13. Contacts. Here is where the organization contact list is maintained the contacts cannot be manually added, only imported from a spreadsheet.